This is a simple tutorial to get started with Django and the asynchronous task queuing system called Celery. We will implement a model storing log entries. We will send the log entries asynchronously to the database, so that we don’t kill our website with tasks that the user doesn’t care about.
Let’s get started!
Basic setup of the Django project
I’m assuming you already have installed Django. If you haven’t, please check out the Django installation documentation.
Start with creating your new Django project and add an application called core, which we will use for demonstation purposes in this tutorial.
django-admin.py startproject celerytest
cd celerytest
./manage.py startapp core
Install celery and the Django helper app django-celery.
pip install celery django-celery
You will need to add djcelery, kombu.transport.django and core to your Django settings.py.
import djcelery
djcelery.setup_loader()

[...]

INSTALLED_APPS = (
    'django.contrib.auth',
    'django.contrib.contenttypes',
    'django.contrib.sessions',
    'django.contrib.sites',
    'django.contrib.messages',
    'django.contrib.staticfiles',
    'core',                     # Add our core app
    'djcelery',                 # Add Django Celery
    'kombu.transport.django',   # Add support for the django:// broker
)

[...]

BROKER_URL = 'django://'
We are setting django as our broker for the time being. When you are in production you will probably want to use a backend like RabbitMQ or Redis. Read more about the BROKER_URL in the documentation.
Now, let’s create a model for our test system (core/models.py).
from django.db import models


class LogEntry(models.Model):
    """
    Definition of a log entry
    """
    timestamp = models.DateTimeField(auto_now_add=True)
    severity = models.CharField(blank=False, max_length=10)
    message = models.TextField(blank=False)
This describes that each log entry has a timestamp, a severity level and a message. To reflect the new model in the database, sync the schema with:
./manage.py syncdb
Next we need to write a simple index view (core/views.py).
"""
Views for the Celery test project
"""
from core.models import LogEntry
from django.http import HttpResponse


def index(request):
    """
    My index page
    """
    log = LogEntry(severity='INFO', message='Rendering the index page')
    log.save()
    return HttpResponse('Hello!')
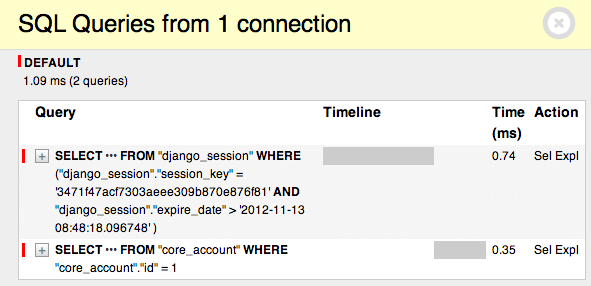
As you can see we are now writing a log message object to the database every time the index page is requested.
You will also need to update your urls.py to look like this (celerytest/urls.py):
from django.conf.urls import patterns, include, url

urlpatterns = patterns('',
    url(r'^$', 'core.views.index', name='index'),
)
Alright. We’re set, now fire up your development server and point your browser at .
./manage.py runserver
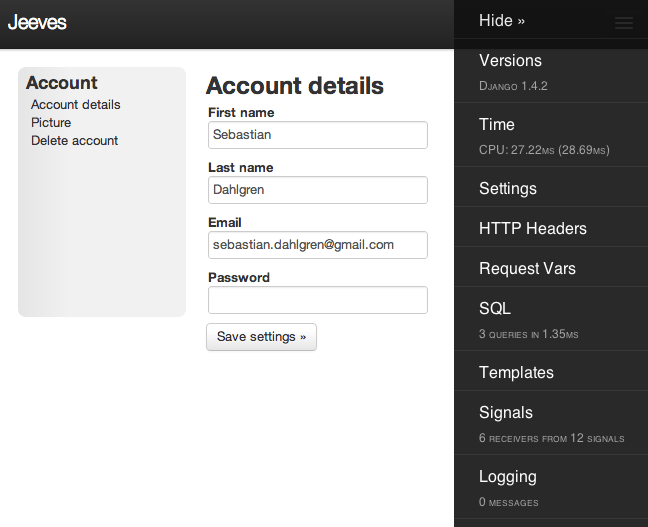
It should look something like this

So, what happens here now is that every time the user loads the index page a log entry is written to the database. But what would happen if the database suddenly became slow. Or even worse, died! Then the web page which was meant to be so simple, just returning a Hello! became slow because of a database request that the user doesn’t even care about.
The answer to this problem, of course, is asynchronous calls. In the next header in this tutorial we will convert our current synchronous logger with an asynchronous version using Celery.
Writing your first Celery task
Okay. Now we have a working Django project and some basic configuration of Celery. We will now:
- Add a Celery task
- Update the view to write log entries to the database asynchronously
Start with creating a new file called core/tasks.py. It will contain all your Celery tasks.
"""
Celery tasks
"""

from celery import task
from models import LogEntry


@task()
def write_log_entry(severity, message):
    """
    Write a log entry to the database
    """
    log = LogEntry(severity=severity, message=message)
    log.save()
What we do here is pretty straight forward. We create a new object of LogEntry which we assign a severity and message, then we save it to the database. The magic comes with the decorator @task which gives access to all Celery methods.
Next thing we need to do is to update the view to make use of our new task (core/views.py).
"""
Views for the Celery test project
"""

from core.tasks import write_log_entry
from django.http import HttpResponse


def index(request):
    """
    My index page
    """
    write_log_entry.delay(severity='INFO', message='Rendering the index page')
    return HttpResponse('Hello!')
As you can see, we are simply importing the task we just wrote and send a severity and message to it. But we are also calling delay(), which is one of the methods provided by Celery. It tells Celery that this request should be handled asynchronously.
If you now point your browser to (hit it a few times to create some messages), there will be no print lines in the standard output. The log message is instead sent to Celery for processing. But we do not have any Celery worker yet. So no one processes those messages for us.
You can see that by opening the Django dbshell.
./manage.py dbshell
sqlite> select count(*) from core_logentry;
2
There are only a few rows in my core_logentry table. If we now start the celeryd we will soon process the messages that are waiting for processing and add them to core_logentry. Start celeryd and add some info logging:
./manage.py celeryd -l info
You will see messages like those:
[2012-11-13 15:08:07,098: INFO/MainProcess] Got task from broker: core.tasks.write_log_entry[fcc23783-c4c0-4a29-a3db-a7c159335c9f]
[2012-11-13 15:08:07,439: INFO/MainProcess] Task core.tasks.write_log_entry[d6ca47b7-fe5a-4e39-8655-2a8689172d32] succeeded in 0.03084897995s: None
Which indicates that Celery got the tasks we sent before and that it handled them. You can now check the count with the dbshell again.
./manage.py dbshell
sqlite> select count(*) from core_logentry;
8
In my case we now have 8 lines of logs in the database. So what we can see here is that if the Celery worker (celeryd) is not running, then no messages are processed. Which in turn proves that we have now actually an asynchronous log system.
We’re done, but this is just scratching the surface of what Celery can do (and it is not the exact way it should be setup in a production environment). See the Celery documentation for more details.


